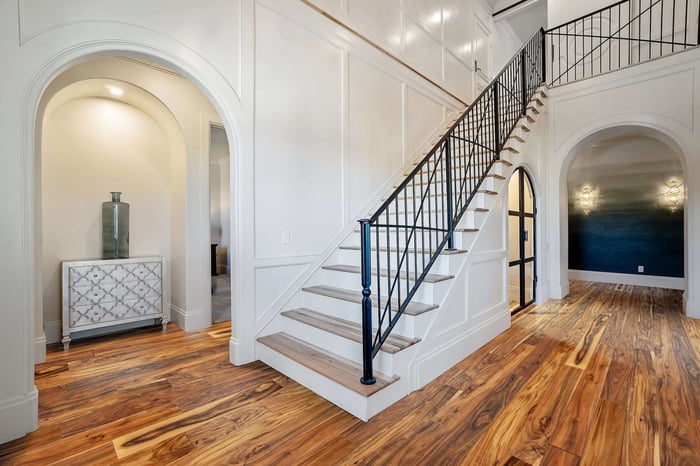
Installing hardwood flooring can transform the look and feel of a space, adding timeless elegance and value to any home or office. While the task may seem daunting at first, with the right tools and knowledge, anyone can achieve a professional-looking installation.
TOOLS FOR HARDWOOD FLOORING INSTALLATION
MEASURING
- Tape measure: Accurate measurements are crucial for calculating the required amount of flooring material.
- Chalk line: Helps establish straight guidelines for the initial rows of flooring.
CUTTING AND SHAPING
- Circular saw: Used for making precise cuts on hardwood planks.
- Jigsaw: Ideal for cutting irregular shapes, such as around door frames or corners.
- Miter saw: Essential for cutting accurate angles for corners and trim.
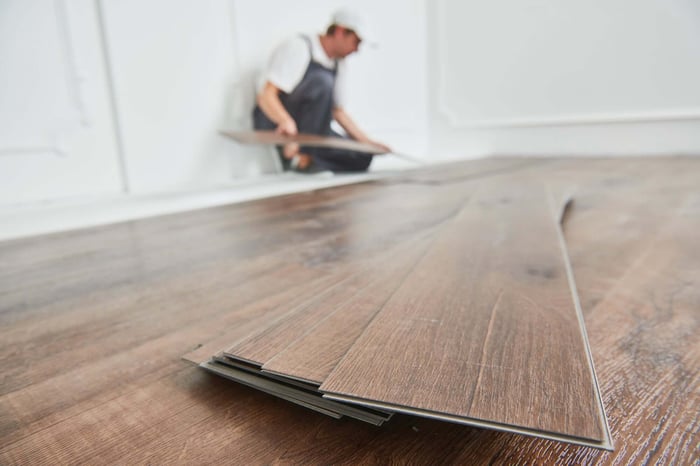
INSTALLATION
- Flooring nailer or stapler: Speeds up the installation process and ensures a secure attachment of the flooring.
- Hammer and nail set: Used for hand-nailing boards in tight spaces or finishing touches.
- Flooring adhesive: Required for glue-down installations, ensuring a strong bond between the flooring and the subfloor.
PREPARATION AND FINISHING
- Subfloor preparation tools: These include a pry bar, floor scraper, and sander for removing old flooring, leveling the subfloor, and ensuring a clean surface.
- Tapping block and rubber mallet: Necessary for tapping boards into place without damaging the wood.
- Floor buffer or sander: Used for sanding and finishing the floor once the installation is complete.
TIPS FOR A SUCCESSFUL HARDWOOD FLOORING INSTALLATION
ACCLIMATION
Allow the hardwood flooring to acclimate to the environment by storing it in the installation area based on manufacturer recommendation. This helps prevent warping or gaps after installation.
SUBFLOOR PREPARATION
Ensure the subfloor is clean, level, and free from any debris or protruding nails. Use a moisture meter to check for excessive moisture levels, as hardwood is sensitive to changes in humidity.
PLANNING AND LAYOUT
Plan the layout carefully, considering the direction of natural light and the best placement of boards for an aesthetically pleasing result. Use a chalk line to mark the starting point and maintain straight rows throughout the installation.
PROPER FASTENING
Whether using a nailer or adhesive, follow the manufacturer's guidelines for proper fastening techniques. Ensure nails are placed at the correct angle and distance from the edges to prevent splitting.
EXPANSION GAPS
Leave a small expansion gap around the perimeter of the room to accommodate natural expansion and contraction of the wood. Use spacers between the boards during installation to achieve consistent spacing.
DRY FITTING
Before permanently attaching the boards, perform a dry fit by laying them out without fastening. This allows you to make any necessary adjustments and ensures a proper fit before committing to the final installation.
If you are a contractor or homeowner looking for installation tips, our team is here to help. Reach out to us at info@harperfloors.com or (888) 807-2704 for more installation tips and tricks.