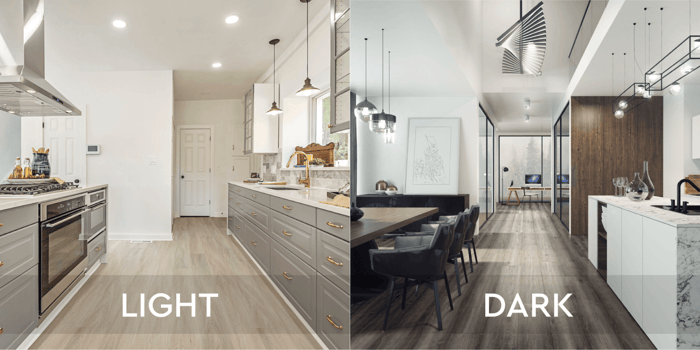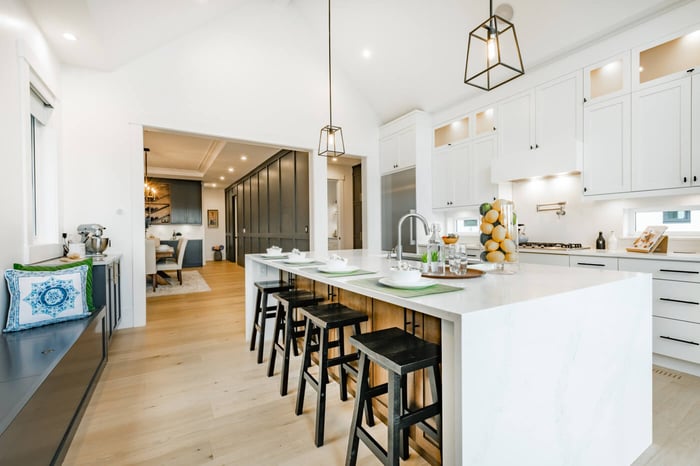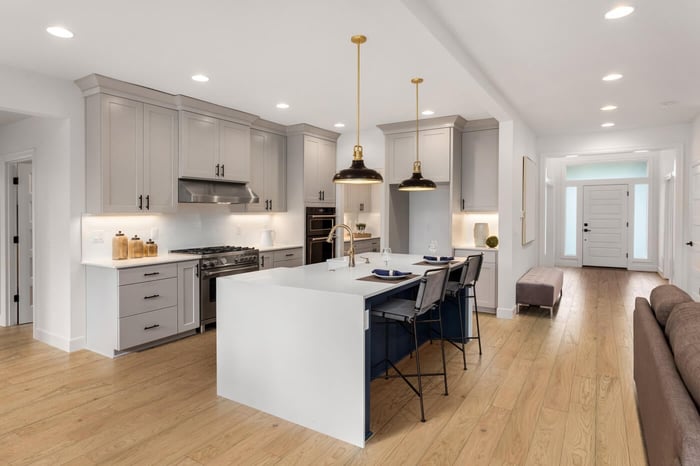
Laminate flooring has become a popular choice for homeowners due to its durability, affordability, and ease of installation. Floating, click lock, laminate flooring, in particular, has gained popularity for its DIY friendly installation method, which doesn't require glue or nails.
Your specific brand of flooring will come with its own installation guide that pertains to its specifications. This is a general installation guide that can be used as a reference while researching or shopping for laminate flooring, so you as a DIY homeowner or contractor working with laminate flooring for the first time, can plan for your installation ahead of time.
Tools You'll Need
- Laminate Flooring: Purchase enough click laminate flooring to cover your desired area, plus a bit extra for mistakes or future repairs. Manufacturers typically recommend 10-15% of additional material for cutting and waste throughout your installation.
- Underlayment: A felt underlayment is necessary to create a moisture barrier and provide cushioning.
- Spacers: These will help maintain the necessary expansion gap around the edges of the room (typically 1/4 to 1/2 inch).
- Tape Measure and Pencil: Essential for precise measurements and marking.
- Saw: A circular saw, jigsaw, or miter saw for cutting laminate boards to fit.
- Pull Bar and Hammer: These tools are used to snugly fit the boards together in tight spaces.
- Safety Gear: Gloves and safety glasses for protection while cutting and installing.
- Clean Subfloor: Ensure the subfloor is clean, level, and free of debris.
Acclimation
Allow the laminate flooring to acclimate to the room's temperature and humidity for at least 48 hours. This will prevent warping or buckling after installation.
Prepare the Room
Start by removing any existing flooring, including carpet, tile, or old laminate. Ensure the subfloor is clean, dry, and level. If necessary, use a leveling compound to fix any irregularities.
Lay the Underlayment
Roll out the underlayment across the entire floor, overlapping seams by a few inches and taping them down.
Plan Your Layout
Plan the layout of your laminate planks. It's often recommended to start the installation from the longest, straightest wall in the room. Measure the width of the room and divide it by the width of a plank to determine the width of the final row; ensure it's not too narrow.
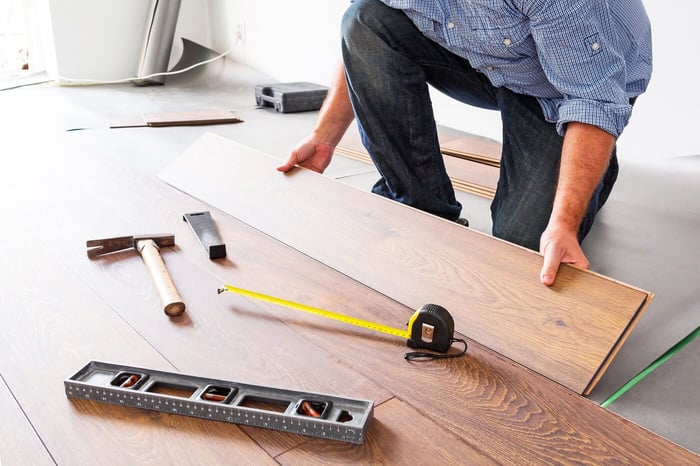
Begin Installation
- Install the First Row: Place spacers against the wall to create an expansion gap. Lay the first row of laminate planks with the groove side facing the wall. Insert the tongue of each plank into the groove of the previous one.
- Continue with Full Planks: Continue laying full planks, making sure the short ends are staggered for a more natural look. Use a saw to cut planks to fit at the ends of rows, leaving a small gap for expansion.
- Work Around Obstacles: For obstacles like door jambs and corners, make templates out of cardboard to trace and cut the planks to fit precisely. Use a jigsaw or handsaw for curved cuts.
- Install the Final Row: Measure and cut the planks for the final row to fit. Remember to leave an expansion gap between the last row and the wall.
- Add Baseboards and Molding: Install baseboards or quarter-round molding to cover the expansion gap and create a polished look. Attach the molding to the wall, not the flooring, to allow for movement.
- Clean Up: Remove all spacers and clean the floor thoroughly. Dispose of any waste material responsibly.
To learn more about laminate flooring installation and explore our laminate flooring selection, visit us at www.harperfloors.com or reach out to us at info@harperfloors.com or (888) 807-2074 today.